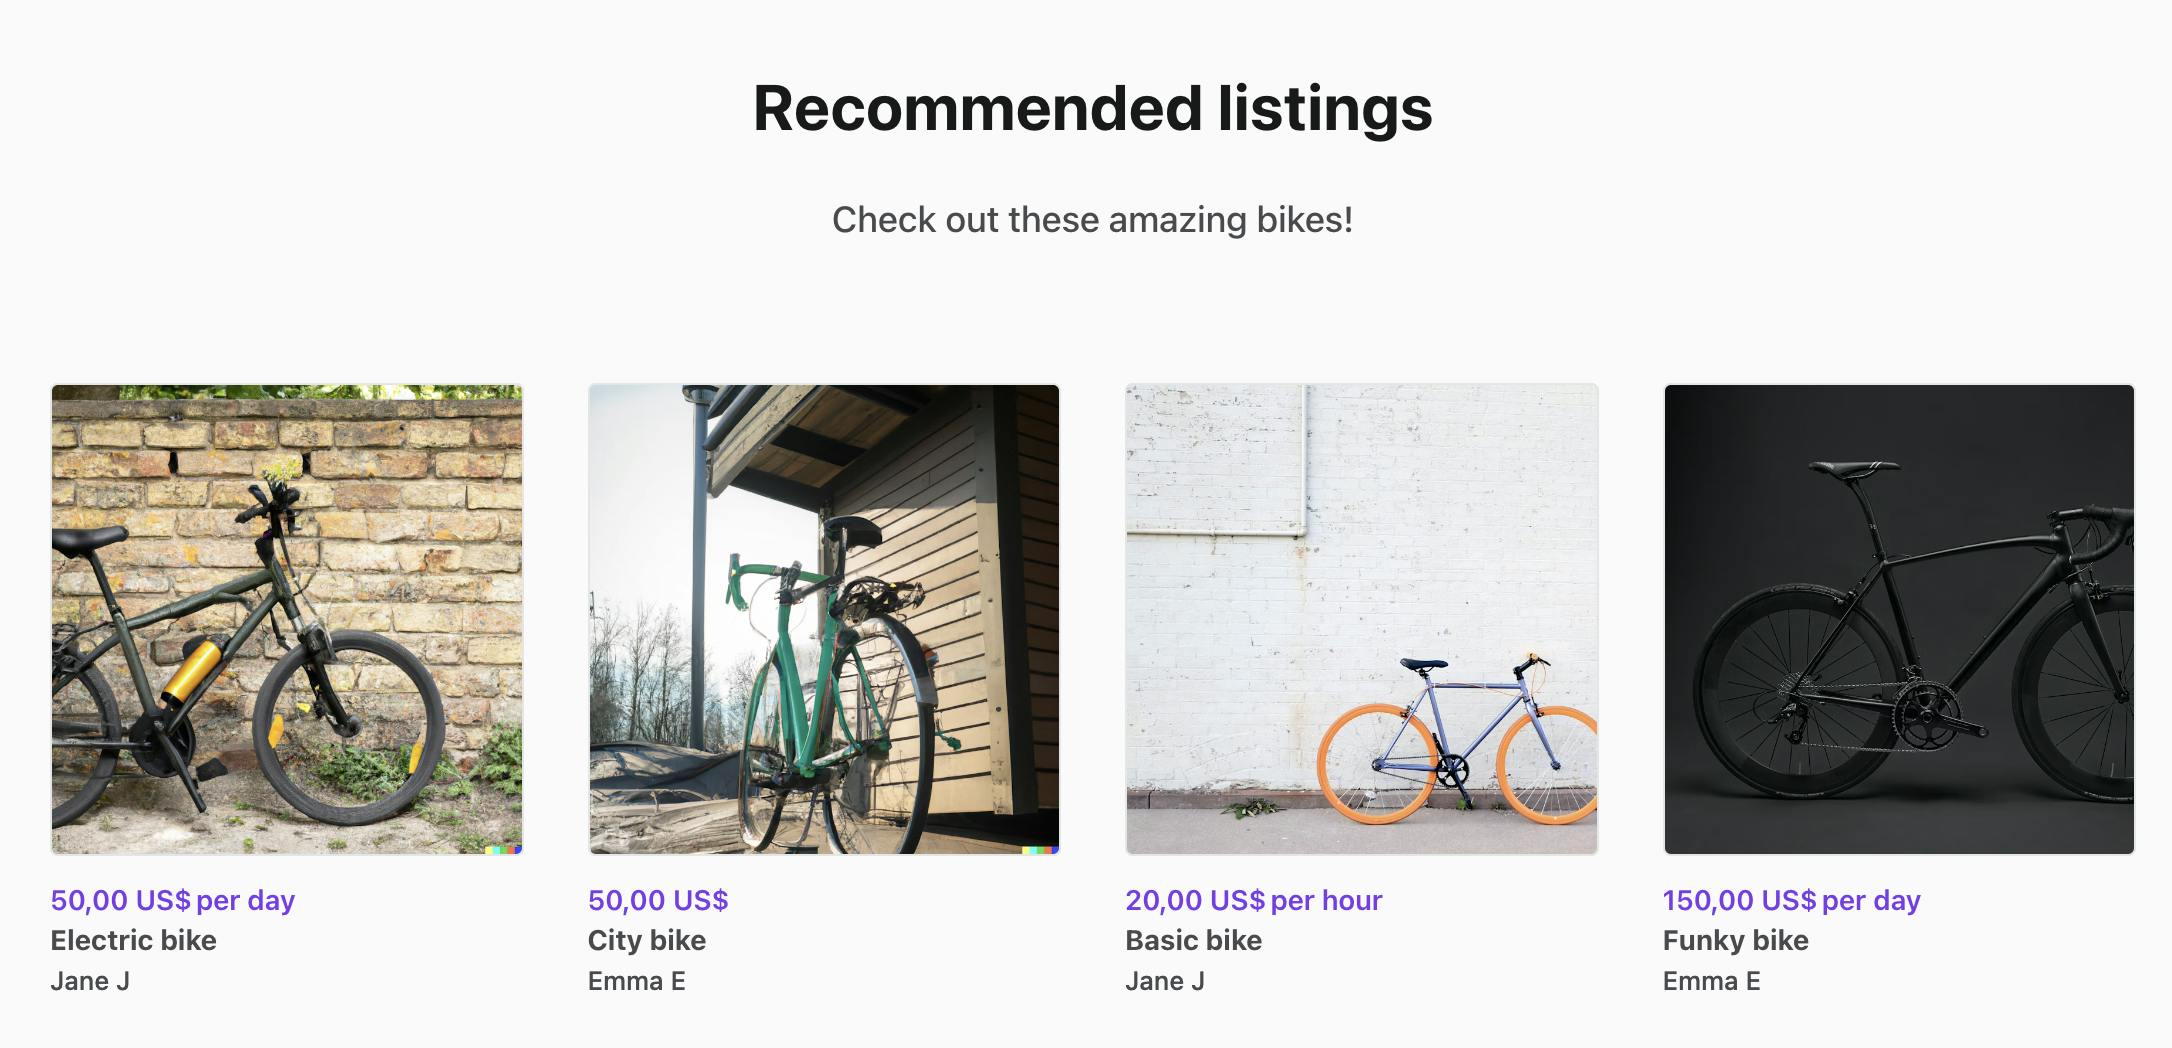
Deploy a Sharetribe marketplace on AWS EC2
Learn how to deploy a Sharetribe marketplace using Amazon's Elastic Compute Cloud.
Oct 1, 2024


This is a guest article by Darren Cody. Darren is the co-founder of Marketplace Studio, an agency specializing in marketplace development. Marketplace Studio is a verified Sharetribe Expert.
Launching a Sharetribe marketplace requires a robust, scalable, and secure hosting environment. AWS EC2 and Heroku are two popular hosting options, each with unique advantages and considerations. This guide will help you understand the differences between these platforms, walk you through deploying a Sharetribe marketplace on AWS EC2, and show you how to configure a GoDaddy domain with a SSL certificate. Whether you are a seasoned developer or setting up your first deployment on AWS, this guide provides all the steps you need for a successful launch.
Comparing Heroku and AWS EC2
When deciding between Heroku and AWS EC2 for hosting your Sharetribe marketplace, consider factors like regional configuration, latency, scalability, and cost.
Heroku
- Ease of Use: Heroku offers a managed platform that abstracts away much of the infrastructure management, making it easier to deploy and scale applications.
- Regional Configuration: Heroku provides limited regional support, primarily in the United States and Europe. To deploy in multiple regions or access additional regions, you must be on a higher-tier plan, typically the Enterprise tier, which can be expensive.
- Latency and Performance: The limited number of regions can result in increased latency for users located far from these data centers, impacting user experience, especially for global marketplaces.
- Cost and Scalability: Heroku's ease of use comes at a higher cost, particularly at scale. The platform can become costly for larger applications due to its pricing model based on dyno usage and add-ons.
AWS EC2
- Full Control and Flexibility: AWS EC2 offers complete control over the server environment, allowing for custom configurations, optimizations, and full administrative access to the underlying infrastructure.
- Extensive Regional Support: AWS has a vast network of data centers in multiple regions worldwide, including North America, Europe, Asia Pacific, and more. This enables low-latency access and compliance with local regulations.
- Multi-Region Deployment: AWS EC2 supports multi-region deployments, ideal for global audiences or businesses needing high availability and disaster recovery capabilities.
- Scalability and Cost Efficiency: AWS EC2 supports auto-scaling and offers various pricing models (on-demand, reserved instances, spot instances), making it more cost-effective for applications that need to scale.
Deploy an EC2 Instance Through AWS Cloud Management
Next, we'll guide you through setting up your environment. This includes configuring your EC2 instance and linking it with your GoDaddy domain.
Before starting, make sure you have the following ready:
- An AWS account with access to EC2.
- A GoDaddy account with a registered domain.
- Basic knowledge of SSH, Linux commands, and navigating the AWS Management Console.
- An SSH key pair for securely accessing your EC2 instance.
- An SSH Client
Deploying a Sharetribe marketplace on AWS EC2 involves several steps, including setting up the server, installing the necessary software, configuring the environment, and deploying the application.
Step 1: Log in to the AWS Management Console
- Go to the AWS Management Console.
- Log in with your AWS credentials.
Step 2: Launch an EC2 Instance
Navigate to the EC2 Dashboard:
Search for EC2 in the AWS Management Console and click to open the EC2 Dashboard.
Name your instance and add tags:
Name your instance and optionally, add tags for identification (e.g., Key: Name, Value: Sharetribe-Marketplace).
Launch a New Instance:
Click on "Launch Instance". Choose an Amazon Machine Image (AMI). For Sharetribe, an Ubuntu Server 20.04 LTS (HVM), SSD Volume Type is recommended.
Select Instance Type:
Choose an instance type based on your marketplace’s requirements. For most new marketplaces:
- t3.medium: Suitable for small to medium-sized marketplaces with limited traffic. It is cost-effective but has limited memory (4 GB).
- t3.large: Recommended for new marketplaces with expected growth. It offers more memory (8 GB), better performance, and handles more concurrent users.
Create a key pair or use an existing one:
Choose or create a key pair for SSH access (or use an existing one) and download it.
Configure Security Group:
Create a new security group or select an existing one. Add rules for HTTP (Port 80), HTTPS (Port 443), and SSH (Port 22). Restrict SSH access to your IP. Ensure Auto-assign Public IP is enabled (or assign an Elastic IP later).
Add Storage:
Configure the storage size (e.g., 30 GB of General Purpose SSD (gp3) is typically sufficient for the operating system, application code, and initial data storage needs).
Review and Launch:
Review the configuration and click "Launch".
Obtain Public IP or Elastic IP:
Once launched, note down the Public IPv4 address from the instance details.
Step 3: Connect to Your EC2 Instance via SSH
To securely access your EC2 instance, follow these steps:
- Open a terminal client on your local machine.
- Run the SSH command to connect to your EC2 instance:
ssh -i "YourKeyPair.pem" ubuntu@your-ec2-public-dns
Replace YourKeyPair.pem with the full file path to your private key and replace your-ec2-public-dns with your instance’s public DNS (which can be found in the EC2 Management Console).
Remember to set the correct permissions for your SSH key:
chmod 400 YourKeyPair.pem
This step ensures your key file has the correct permissions, allowing SSH to use it without security warnings.
Step 4: Update and Install Necessary Packages
Update the package lists and upgrade installed packages:
sudo apt update && sudo apt upgrade -y
Install Node.js:
curl -fsSL https://deb.nodesource.com/setup_18.x | sudo -E bash - sudo apt install -y nodejs
Step 5: Install Git and Set Up the Application
# Install Git
sudo apt-get install -y git
# Clone your Sharetribe repository
git clone https://github.com/yourusername/your-repo.git
cd your-repo
# Install yarn
npm install -g yarn
# Install packages
yarn install
Configuring the Domain on GoDaddy with SSL Protection
Configuring your GoDaddy domain with SSL protection is essential to ensure secure communication between your users and your EC2 instance. SSL encrypts data transferred between the server and the browser, protecting sensitive information and improving trust, security, and search engine rankings.
Log in to Your GoDaddy Account
Go to GoDaddy.com and log in.
Access DNS Management
Select "My Products". Find your domain and click "DNS".
Update A Record
This updates the A record to point your domain’s root (denoted by "@") to the Public IPv4 or Elastic IP of your EC2 instance, directing traffic to your server.
- Name: @
- Value: Enter the Public IPv4 address or Elastic IP of your EC2 instance.
- TTL: Default (600 seconds).
Add CNAME Record (Optional)
Adding a CNAME record ensures that the "www" version of your domain redirects to the root domain. It allows users to access your site with or without the "www" prefix.
- Type: CNAME
- Name: www
- Value: @
Save Changes
Save the DNS settings. DNS changes may take up to 48 hours to propagate globally.
Install Nginx and Obtain an SSL Certificate
Before installing the SSL certificate, make sure that the DNS A records for both youtdomain.com and www.yourdomain.com are correctly pointing to the public IP address of your EC2 instance.
Install nginx and Certbot:
# Install Nginx
sudo apt-get install -y nginx
# Install Certbot for Nginx
sudo apt-get install -y certbot python3-certbot-nginx

# Obtain and install SSL certificate
sudo certbot --nginx -d yourdomain.com -d www.yourdomain.com
If obtaining the SSL certificate fails your DNS records have likely not propagated yet.
Configure Nginx for HTTP to HTTPS Redirection
You'll configure Nginx to redirect all HTTP traffic on port 80 to HTTPS on port 443, ensuring encrypted connections by default for all requests to your domain.
Open the nginx configuration on your server:
sudo nano /etc/nginx/sites-available/default
And add the following configuration:
server {
    listen 80;
    server_name yourdomain.com www.yourdomain.com;
    return 301 https://$host$request_uri;
}

server {
    listen 443 ssl;
    server_name yourdomain.com www.yourdomain.com;

    ssl_certificate /etc/letsencrypt/live/yourdomain.com/fullchain.pem;
    ssl_certificate_key /etc/letsencrypt/live/yourdomain.com/privkey.pem;

    location / {
        proxy_pass http://localhost:3000;
        proxy_set_header Host $host;
        proxy_set_header X-Real-IP $remote_addr;
        proxy_set_header X-Forwarded-For $proxy_add_x_forwarded_for;
        proxy_set_header X-Forwarded-Proto $scheme;
    }
}
Test the configuration and restart nginx:
sudo nginx -t
sudo systemctl restart nginx
The configuration above assumes that you're running the template locally (on the server) on localhost:3000 and proxies traffic from port 80 to localhost:3000.
Note: The configuration above does not redirect traffic from the apex domain (yourdomain.com) to the www version (www.yourdomain.com).
Set Up Auto-Renewal for SSL Certificates
Certbot should automatically set up a cron job for SSL certificate renewal. You can test the renewal process with:
sudo certbot renew --dry-run
Running the template
To run the template in a production environment, there are several approaches to consider. First, to test the app, you can run it locally (on the server) by executing:
NODE_ENV=production PORT=3000 yarn start
This command will launch the app on port 3000, which is where Nginx is set to proxy requests. Ensure you run yarn build beforehand to create the production build files. Once the app starts, you should be able to access the site via your domain.
However, running the app with this method over an SSH session is not a long-term solution, as the process will stop when the SSH session ends or if the server crashes. For production, you need a process manager that ensures the app runs continuously and restarts automatically if it fails.
Possible approaches:
Using pm2: A popular option for managing Node.js applications. It can start your app as a background process, monitor its status, and automatically restart it if it crashes. You can install pm2 globally and serve the template using it:
sudo npm install -g pm2
pm2 start yarn --name "my-marketplace" -- start --env NODE_ENV=production --env PORT=3000
Docker: If you prefer a containerized solution, running the app inside a Docker container is another viable option. Docker can manage dependencies, environments, and restarts efficiently, especially when combined with orchestration tools like Docker Compose or Kubernetes for scaling.
Running Health Checks for the EC2 Instance
Regular health checks ensure that your EC2 instance is running optimally and that your Sharetribe marketplace is accessible.
Set Up CloudWatch Alarms
Navigate to CloudWatch:
In the AWS Management Console, search for CloudWatch and open the CloudWatch Dashboard.
Create a New Alarm:
Go to Alarms > All Alarms > Create Alarm. Select EC2 as the metric type and choose StatusCheckFailed.
Configure Alarm Settings:
Set the threshold (e.g., 1 failed check). Set the notification settings (e.g., send an email via SNS).
Run Manual Health Checks
Use tools like curl to check HTTP/HTTPS response:
curl -I https://yourdomain.com
Ensure you receive a 200 OK status.
Troubleshooting Common Issues
Deploying a marketplace can be complex, and you might encounter issues along the way. Here are some common problems and their solutions:
- DNS Propagation Delays: Changes to DNS records might take time to propagate globally. Use tools like DNS Checker to verify.
- SSH Connection Issues: If you can't connect to your EC2 instance via SSH, check your security group rules and ensure your SSH key permissions are correctly set (chmod 400 YourKeyPair.pem). If you're having trouble connecting, you can also check that the security group you've configured via EC2 allows connections from the IP address you're connecting from.
- Nginx or SSL Errors: Common errors with Nginx or SSL setup can be due to incorrect configurations. Use sudo nginx -t to test configurations and refer to the error logs (/var/log/nginx/error.log).
Choosing the Best Instance Type and Storage Size for Your Marketplace
AWS EC2 offers a wide range of instance types tailored to different use cases. The t3 family is a general-purpose instance type that balances compute, memory, and network resources, making it suitable for a variety of workloads, including web applications like Sharetribe marketplaces.
t3.medium:
- vCPUs: 2
- Memory: 4 GB
- Network Performance: Up to 5 Gbps
- Performance: Moderate CPU performance, with burst capabilities via CPU credits.
- Best For: Small to medium-sized marketplaces with modest traffic demands. It’s cost-effective for early-stage projects or development environments.
- Considerations: The 4 GB of memory may limit performance under heavier workloads or high user activity.
t3.large:
- vCPUs: 2
- Memory: 8 GB
- Network Performance: Up to 5 Gbps
- Performance: Similar CPU performance to t3.medium, but with double the memory, making it ideal for handling more concurrent users and larger data volumes.
- Best For: Growing marketplaces that expect moderate to high traffic or need extra memory for more complex operations.
- Considerations: A slightly higher cost, but the additional memory provides headroom for future growth.
Recommendation: For most new marketplaces, the t3.large instance is a safer choice. It offers the flexibility to handle initial traffic surges and allows room to scale as your user base grows. If your marketplace starts small or is in the testing phase, you can downgrade to a t3.medium later or adjust instance types based on usage.
Storage Recommendations:
- Volume Type: General Purpose SSD (gp3 or gp2)
- Volume Size: Start with 30 GB. This size is typically sufficient for the operating system, application code, and initial data storage needs, including user-uploaded content like images and documents.
- Performance: gp3 volumes provide a baseline performance of 3,000 IOPS and 125 MB/s, which is generally sufficient for most Sharetribe marketplace operations.
Scaling for Future Growth: Auto-Scaling and Load Balancing
To handle varying traffic demands without overspending, set up Auto Scaling and Elastic Load Balancing (ELB).
- Auto Scaling Group: Configure an Auto Scaling Group to dynamically adjust the number of instances based on traffic. You can set policies like:
- Scale out: Add instances when CPU utilization exceeds 70% for 5 minutes.
- Scale in: Reduce instances when CPU utilization drops below 30% for 10 minutes.
- Elastic Load Balancer (ELB): Distribute incoming traffic across multiple instances for improved availability and fault tolerance.
By leveraging Auto Scaling and ELB, your marketplace will maintain high performance during traffic peaks while keeping costs low during quieter periods. This ensures you’re prepared for both current and future demands without overcommitting resources.
Example Auto Scaling Policy:
- Scale-Out: Add an instance when average CPU utilization exceeds 70% for 5 minutes.
- Scale In: Remove an instance when average CPU utilization falls below 30% for 10 minutes.
With this automated approach, your marketplace will stay responsive during peak times while scaling down during off-hours to reduce unnecessary expenses.
Choosing the right instance type and storage size and configuring auto-scaling are critical steps to ensure your Sharetribe marketplace runs efficiently and cost-effectively on AWS EC2. For most new marketplaces, starting with a t3.large instance and 30 GB of General-Purpose SSD storage is a balanced choice that provides both performance and room for growth. Leveraging Auto-Scaling helps manage costs and ensure your marketplace remains responsive and available, even as traffic patterns change.