Enable Google login
Enabling Google login consists of three main steps:
- Create a Google Sign-In Project Google Sign-In Project is what connects your marketplace to Google and let’s Google know that users from your marketplace are allowed to authenticate themselves using the Google Sign-In.
- Create an identity provider client in Sharetribe Console Identity provider (IdP) client is what let’s Sharetribe know that the users of your marketplace are allowed to use the Google Sign-In Project you created to log into your marketplace.
- Add environment variables to the Sharetribe Web Template A few attributes from the Sign-In Project will need to be configured to Sharetribe Web Template so that it can perform the login flow via Google.
Google Login can be configured without code if you are running a no-code marketplace. If you are hosting the template yourself, you will need to follow the instructions on this page. Compared to no-code marketplaces, the key difference is that you need to configure the Client Secret using environment variables instead of configuring the value via Console.
Create a Google Sign-In Project
The first thing to do is to create a Google Sign-In project for your marketplace by following these steps in the Sharetribe help center .
Configure an identity provider client in Console
Now that your Google Sign-In project is all set up, you will need to configure a corresponding identity provider client for your marketplace. This will tell Sharetribe that your users will be allowed to log into your marketplace using the Google Sign-In you just created. The information stored in an IdP client is used to verify a token obtained from Google when a user logs in.
An identity provider client can be configure with the following steps:
Go to Social logins & SSO in Console .
Under Identity provider clients click ”+ Add new”.
Set “Client name”. This can be anything you choose, for example, “Google login”.
Under “Select identity provider”, pick “Google”.
Set the Client ID. This value is the Client ID from your Google Sign-In project. You can see the value under Credentials > OAuth 2.0 client IDs. Make sure you have the project you just created selected from the top bar in Google developer console. In case you have multiple clients configured in Google Sign-In, use the client ID of your Web application client here. See the next step for more information.
The IdP client configiruation should now look something like this:
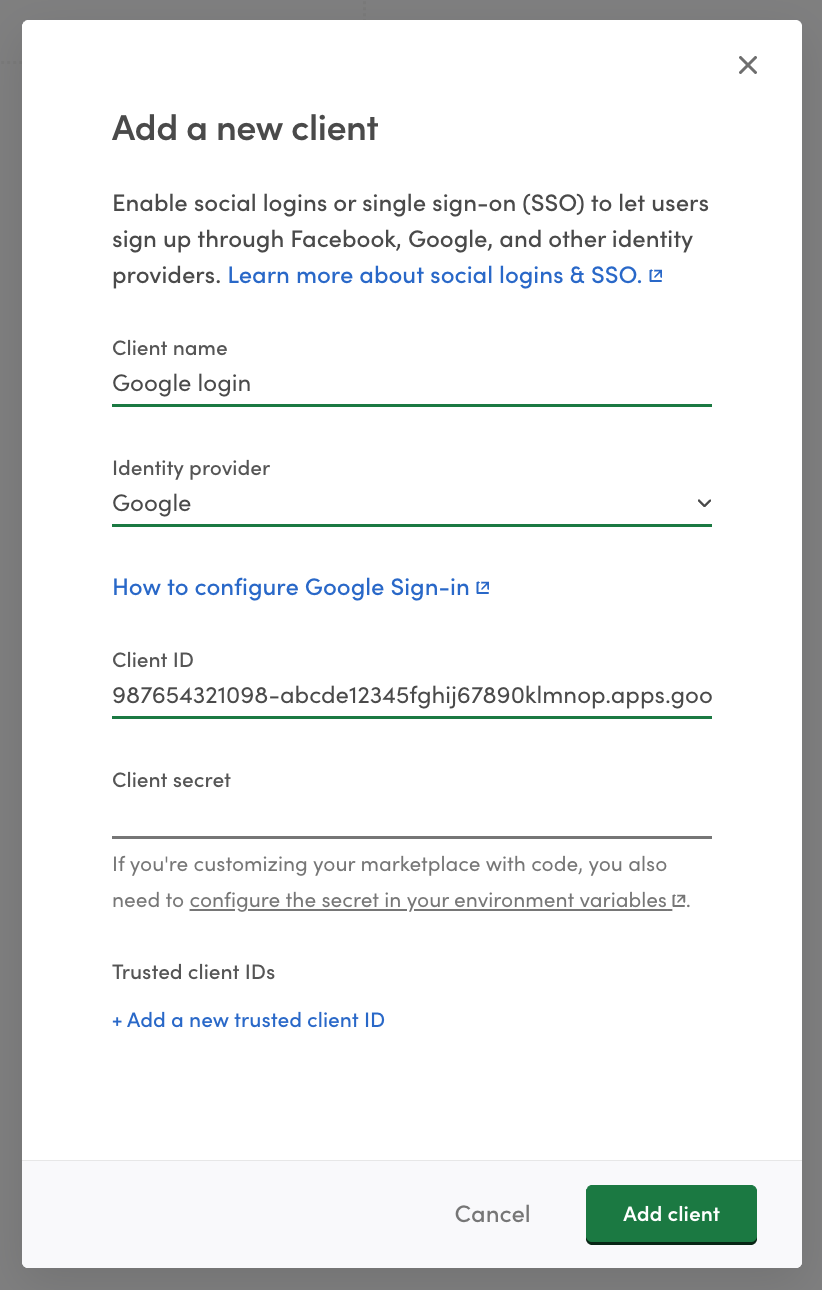
If you have more than one client configured in your Google Sign-In project, mobile clients for example, add the additional client IDs to the same identity provider client under “Trusted client IDs” by clicking ”+ Add new trusted client”. In case you are using two distinct Google Sign-In projects, configure those as distinct clients in Console but always bundle all the client IDs of a single project into one identity provider client in Sharetribe Console.
Click “Add client” and your identity provider client is ready.
Add environment variables
Last step to enabling Google login is to configure your Sharetribe Web Template with the values that you used to add an identity provider client in Console. Add the following environment variables to the template:
REACT_APP_GOOGLE_CLIENT_IDThe Client ID of your Google Sign-In. You can see the value under Credentials > OAuth 2.0 client IDs in your Google Sign-In project. Also corresponds to Client ID value of the Identity provider client you created in Console.GOOGLE_CLIENT_SECRETThe Client Secret of your Google Sign-In.
Remember to redeploy your app or restart your development environment after making changes to environment variables!
For more information on the template environment variables, see the Template environment variables article.
That is it. Setting these environment variables will make Sharetribe Web Template render the Google login button in signup and login forms.